Site Metrics and Web Analytics by NextSTAT
FRAMELESS CORNER SHOWER ENCLOSURES


  What is Simply Brilliant Shower Doors?? First, we start with 3/8" thick clear tempered safety glass (Yes this is the same thickness of glass you would find surrounding a hockey rink). It's not to say we don't use 1/2" on occasion but 3/8" glass is the preferred thickness for heavy glass. The following reasons are:

1st) 3/8" glass is more clear compared to 1/2" glass which has a slightly greener tint.

2nd) 3/8" glass when used day-in and day-out, is lighter in weight and and has a more friendly feel to it.

3rd) A swinging door that uses this lighter glass will self-center better, the hardware last longer and you still achieve the heavy glass look.

If you are still wanting a 1/2" glass shower door please don't let me discourage you. It is just my opinion that 3/8" is better no matter the cost. Every door we install is custom to the opening. If the grout line is around 30" we will adjust the size of the door and the hinges to meet that line. We place our hinges anywhere from 5" to 10" from the top or bottom. The standard height of the door is around 72" tall (Common height for most shower doors). If the shower door requires a header the height would start at 77". Also, you may notice almost all of the showers we install have a clear polycarbonate swipe on the bottom only. The reason I mention this is because some Glaziers put the swipe material on the sides as well as the bottom to seal in the water. This method means that the door will hit against the polycarbonate when closing and not allow the shower door to open in-wards. We suggest allowing an 1/8" gap between the glass, this will avoid the CLUNK every time you close the door and this will also do away with that additional seal. Now in some cases Seals should be used & tolerated when the customer has wood floors outside of the shower. And in some cases if the slop is not done with enough of an angle then a seal should be used to lead the water back into the shower. Just a thought, wouldn't you rather the water drip inwards after a shower instead of all over the floor? Whatever I know I'm rambling on but some people would like to hear this stuff.


Video Voice Mail for Greg// from start of communication to completion information packet.
This shower door is built out of 3/8" clear tempered glass. The color of the hardware is brushed nickle and the 8" handle has washers. The handles can be ordered with washers or without. Custom Shower doors and enclosures typically are not as large as yours Greg. Your master shower needs to have a header due to it's size and the fact that the bottom rope tile is right where a wall mount door hinge would go. If you still say James I want you to put a small 8" panel against the wall and then have the door hinge off that so the shower would have no header. Again I say no. The reason thats not ideal is because anytime you have a large door basically hanging off another piece of glass. Its going to need lots of clips to hold that fixed panel in place. in addition to being very busy with clips its also a littile sloppy, the glass to glass hings will possibly sag over time and the door will most likely come out of adjustment. The reason we like the header and pivot door configuration is because 10 years from now it will be just like the day we installed it.   A Fully Frameless shower enclosure deleting the HEADER means the inline panels next to the door can move around because of the huge size of Greg's corner shower with step up on to tub deck. Imagine a  unsuspecting  maid wiping down the oversize glass panels Shaking AND trembling thE fixed panels of glass can present a clinking situation. To avoid epic fail we will use a polycarbonate sleave over for protection and water seal. Greg, if there is no header and no seals at door strike point were going to open up the gap to about 5/32 to 3/16". you can remove the seals down the road if you think its going to be ok. probably not a good idea to have a tight glass to glass gap without a polycarbonate seal for a shower of this size. ANYHOW YOUR DESIGNER FAXED US A COMPETITORS DRAWING WHO ALSO BID YOUR SHOWER GREG. I WON THE BID AND HAVING DONE LOTS OF WORK FROM THIS DESIGNER IN THE PAST SHE PAID IN FULL AFTER I MEASURED AND ALL I ASKED FOR WAS A DEPOSIT. I CHANGED THE SHOWER OPERATION FROM A HINGED RIGHT TO A HINGED LEFT FOR EASE-OF-ACCESS, BUT ULTIMATELY I BUILT SHOWER TO HER FAX. I ALSO TOTALLY WORKED OUT THE SHOWER TILES IMPERFECTIONS BY ADDING DOG-LEGS TO GLASS AND OUT OF SQUARE CORNERS TO JOB. I HOPE THIS VIDEO VOICE MAIL THAT I ATTACHED YOU WILL FIND THE JOB SATISFACTORY.
 
call James (949)212-4492


 Thank you for browsing  my site www.glasshower.com!!

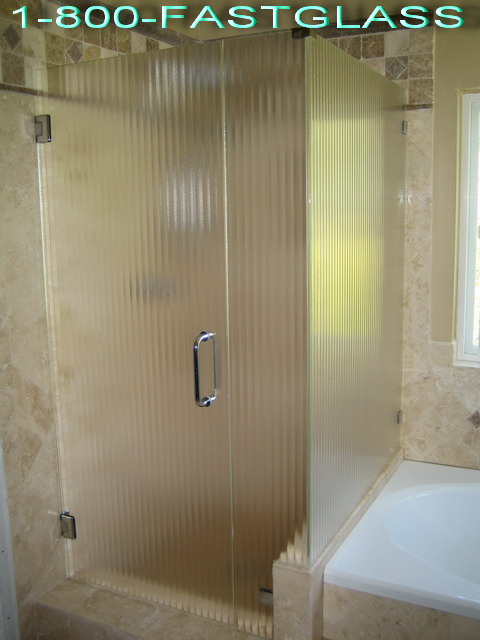
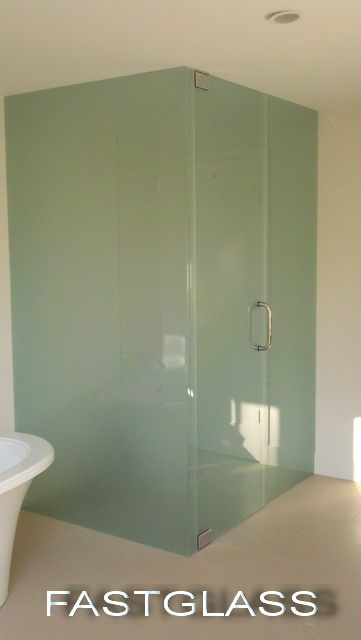
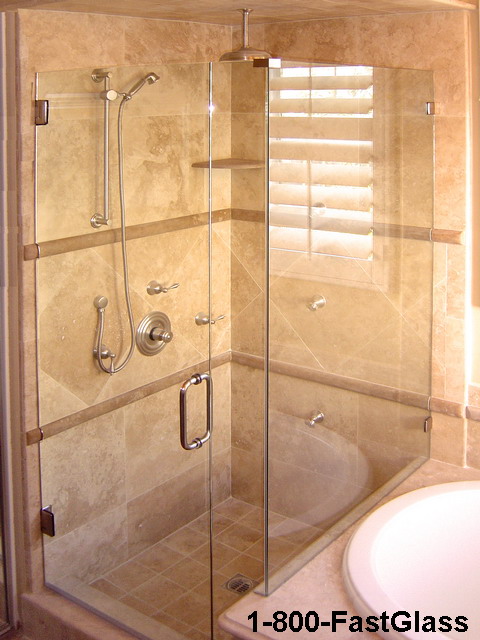
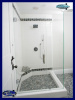
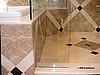
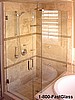
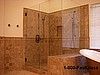
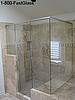
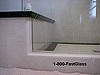
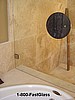
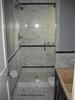
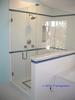
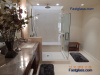
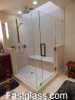
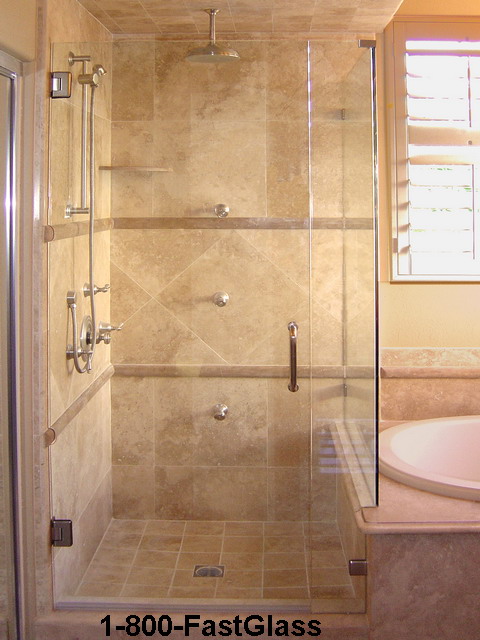
This page of my site is dedicated to topics relating to Frameless shower enclosures with the 90` corner configuration shown here, 

The following 15 detailed photos can help you when designing and building your new shower enclosure!

The huge photos will tell some do's and dont's about our techniques that I believe will help you choose our company when comparison shopping


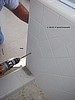
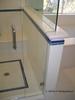
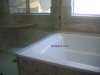
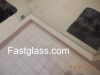
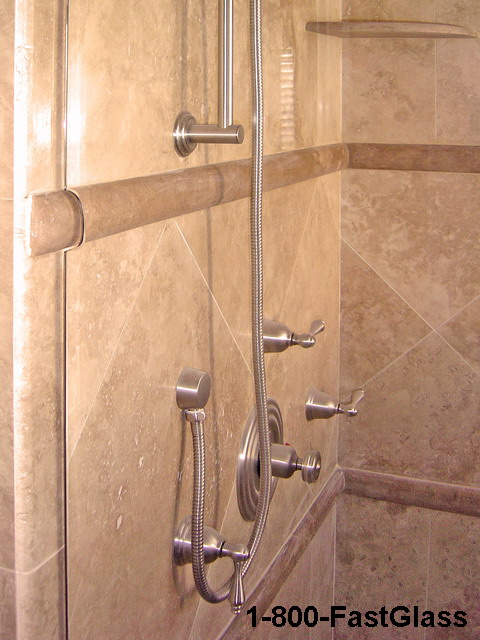
 First let's talk about a key element at time of construction of you new shower

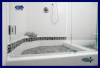
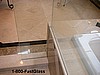
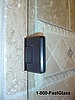
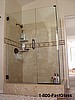
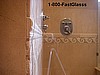
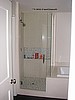
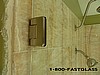
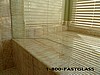
This bottom dam has good tilt draining the water shear back to the drain

lot's of showers have very little tilt or in some cases it will be tilted the wrong way or completely flat

we will often ask the customer to reinstall the dam and make it right or we will have to add some alum:(

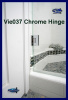
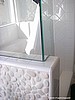
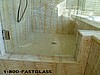
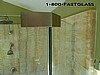
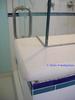
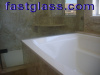
 This level is resting on a bottom dam with a tiny bit to much tilt however a little to much tilt is better than not enough.

I would say if the level bubble was to be divided right down the middle it would be perfect.

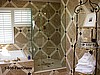
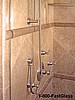
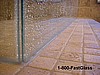
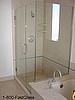
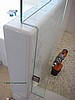
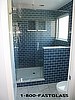
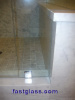
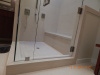
Why all this fuss about the bottom dam? It's because I like the swinging door portion of the frameless shower to be completely free of seals that attach to the side of the glass, I do install a bottom swipe however.

The problem with seals is the following: 1st  THEY ARE VISIBLE. 2nd THEY ARE VISIBLE.


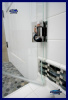
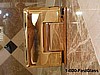
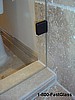
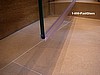
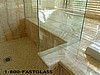
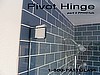
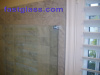
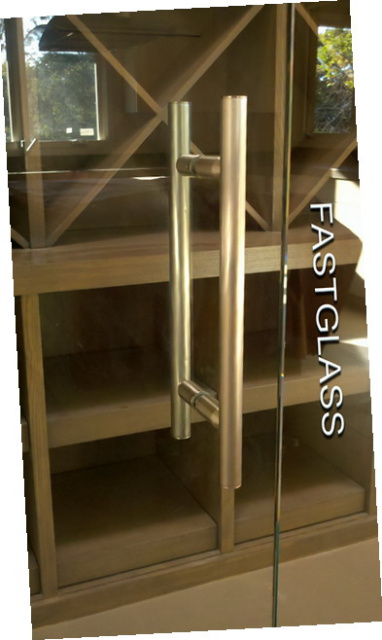
 Just alittle 10 cent corner was needed to make this notch work. You might ask why can't you just make the notch on the glass exactly square?  Well that's because the tempering process makes stress on the glass. Having the glass with a small radius about the same as a dime allow's us to sleep good at night knowing the glass won't explode later that year after installed.


 CLICK HERE TO SEE NOTCHING OF GLASS RATHER THAN SLAB


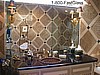
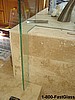
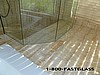
 This next bit of information Talks about edge work and polishing that we do for a wet glaze system. I Know lots of other Glass contractors lag is this area. We use a flat grind where the glass is going to be wet glazed because it helps to hide any air bubbles that might appear in-between the stone and the glass after siliconeing the glass into place.